01 / WHY THIS MATTERS
Why This Matters
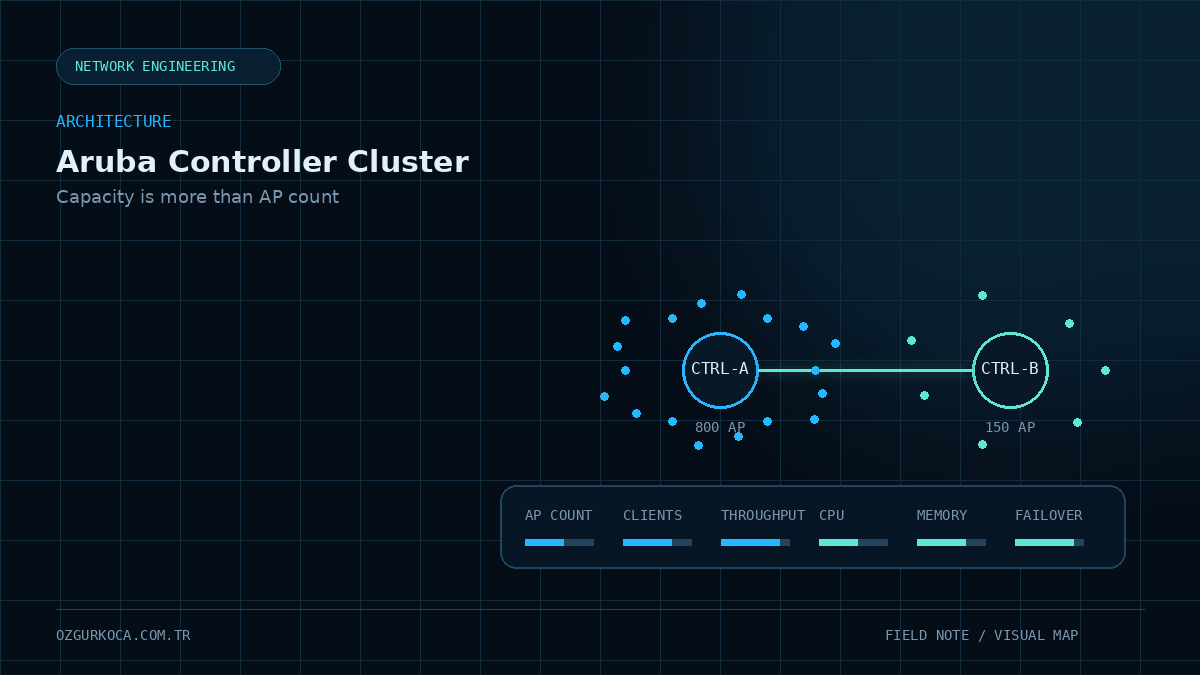
In an Aruba wireless cluster with two controllers, simply having APs distributed across both devices does not automatically mean the design is healthy.
Consider this distribution:
Controller-A  ->  800 AP
Controller-B  ->  150 AP
The system may still be operational, but most of the workload is concentrated on a single controller. In that situation, AP count must be evaluated together with client density, traffic volume, and controller resource utilization.
The more useful design question is not only:
How are APs distributed between the controllers?
but also:
Is the actual workload balanced, and can the surviving controller carry the full load if one controller is lost?
02 / EQUAL AP COUNT DOES NOT MEAN EQUAL LOAD
Equal AP Count Does Not Mean Equal Load
Two controllers may have the same number of APs and still carry very different workloads.
Controller-A  ->  300 AP
Controller-B  ->  300 AP
At first glance, that looks balanced. But the usage behind those APs may differ significantly.
For example:
Controller-A
  300 AP
  Normal office usage

Controller-B
  300 AP
  Heavier user traffic
  Video conferencing
  Higher client density
Even with an equal AP count, Controller-B may be doing considerably more work.
That is why AP Count should be monitored together with the following metrics:
| Metric | What it tells you |
|---|---|
| AP Count | Number of APs anchored to the controller |
| Client Count | Actual client density handled by the controller |
| Throughput | Amount of traffic passing through the controller |
| CPU | Processing load |
| Memory | Resource utilization |
| AP Type | Capacity and usage differences between AP models |
In short:
AP count is a distribution indicator, not a complete workload metric.
03 / WHAT SHOULD THE GOAL BE IN AN ACTIVE-ACTIVE DESIGN?
What Should the Goal Be in an Active-Active Design?
In a two-controller cluster, heavily loading one controller while leaving the other almost idle wastes available resources.
Unbalanced example:
Controller-A  ████████████████  high load
Controller-B  ███               low load
Healthier target:
Controller-A  ████████          balanced load
Controller-B  ████████          balanced load
The goal is not to achieve an exact mathematical %50 / %50 split. The goal is to avoid unnecessary concentration of AP and client load on one controller.
Benefits include:
- Resources on both controllers are used.
- CPU and memory pressure can be monitored more evenly.
- One controller is less likely to become a hotspot.
- Failover behavior becomes more predictable.
04 / THE REAL CAPACITY TEST HAPPENS DURING FAILOVER
The Real Capacity Test Happens During Failover
Under normal conditions, two controllers can share the workload:
             Aruba Cluster

       Controller-A     Controller-B
            |                |
          400 AP            400 AP
If Controller-A fails, the situation changes:
             Aruba Cluster

       Controller-A     Controller-B
           DOWN              |
                           800 AP
At that point, the real design question becomes:
Can the remaining controller carry the full AP and client workload at an acceptable performance level?
Capacity planning must therefore include not only steady-state operation, but also a single-controller failure scenario.
Key checks include:
- Supported AP capacity
- Required licensing capacity
- Client density
- CPU utilization
- Memory utilization
- Traffic / throughput load
05 / A SIMPLE WAY TO THINK ABOUT FAILOVER CAPACITY
A Simple Way to Think About Failover Capacity
A practical evaluation flow can look like this:
Measure normal operating load
          |
          v
Review AP + Client distribution
          |
          v
Assume one controller is lost
          |
          v
If all load moves to the remaining controller,
is capacity still sufficient?
          |
       +--+--+
       |     |
      YES    NO
       |     |
       v     v
   Design   Capacity / distribution
   is OK    must be reconsidered
This shifts the focus from how clean the current distribution looks to how the platform behaves during failure.
06 / WHY AP CONTROLLER SELECTION MATTERS
Why AP Controller Selection Matters
When analyzing AP distribution, it is also important to understand how APs discover controllers and which controller they prefer.
Areas to review include:
- LMS
- Backup LMS
- Cluster members
- AP discovery mechanisms
- DHCP-based discovery
- DNS-based discovery
The objective is to determine whether APs may unexpectedly accumulate on one controller after rebooting or reconnecting.
For example, a normally balanced environment could gradually become:
Controller-A  ->  700 AP
Controller-B  ->  200 AP
So the analysis should include not only a point-in-time AP count, but also the controller-selection behavior of the APs.
07 / SHOULD YOU REBALANCE IMMEDIATELY WHEN YOU SEE AN IMBALANCE?
Should You Rebalance Immediately When You See an Imbalance?
Not every imbalance requires immediate intervention.
If you see:
Controller-A  ->  700 AP
Controller-B  ->  200 AP
it may be tempting to redistribute APs right away. First, determine whether the imbalance has a real operational impact.
Is there an actual performance problem?
             |
             v
Is CPU or memory under pressure?
             |
             v
Is client density uneven?
             |
             v
Is failover capacity at risk?
Also consider the operational impact of a rebalance:
- Will users experience disruption?
- Do APs need to reconnect?
- Which maintenance window will be used?
- Will the wireless user experience be affected?
- Could a new imbalance be introduced by physical location?
Therefore:
The purpose of rebalancing should not be to make the AP numbers look symmetrical.
08 / DO NOT IGNORE RF AND PHYSICAL LOCATION
Do Not Ignore RF and Physical Location
Where APs are physically located matters when evaluating controller load.
For example, most APs in one building may be anchored to one controller while the other controller serves different locations.
In that case, controller-side metrics alone are not enough. The wireless environment should also be observed after failover or redistribution.
Areas to consider include:
- Physical AP distribution
- RF domain structure
- Channel / RF optimization behavior
- User-density distribution by location
- AP reconnection behavior
The point is to avoid making a controller-side change without considering the effect on the wireless user experience.
09 / CHECK CLUSTER HEALTH BEFORE AP DISTRIBUTION
Check Cluster Health Before AP Distribution
Unexpected AP distribution is not always a capacity or load-balancing problem.
If any of the following exist, AP distribution may also look unhealthy:
- Cluster health issues
- Peer communication problems
- A node in an isolated state
- Synchronization problems
A better analysis order is:
Cluster Health
      |
      v
Peer Connectivity
      |
      v
Synchronization
      |
      v
Node Status
      |
      v
AP / Client Distribution
Interpreting AP distribution as a capacity issue while the cluster itself is unhealthy can be misleading.
10 / PRACTICAL MONITORING TABLE
Practical Monitoring Table
A simple table can help keep both steady-state and failover capacity in view:
| Check | Controller-A | Controller-B | After Failover |
|---|---|---|---|
| AP Count | Monitor | Monitor | Can the remaining node carry the total? |
| Client Count | Monitor | Monitor | Is peak client count acceptable? |
| Throughput | Monitor | Monitor | Can one node handle the traffic load? |
| CPU | Monitor | Monitor | Is it acceptable after failover? |
| Memory | Monitor | Monitor | Is there enough headroom? |
| Cluster Health | Must be healthy | Must be healthy | Verify peer / sync state |
This makes it possible to evaluate the failure scenario at the same time as the current distribution.
11 / DESIGN CHECKLIST
Design Checklist
12 / THE MOST IMPORTANT TAKEAWAY
The Most Important Takeaway
If this topic is reduced to one sentence:
AP load balancing is not about making AP counts equal. The real goal is to ensure that the surviving controller can carry the AP, client, and traffic load if another controller is lost.
This view alone is not enough:
Controller-A  ->  400 AP
Controller-B  ->  400 AP
The real test is:
Controller-A DOWN
       |
       v
Controller-B
       |
       +-- All APs
       +-- All client load
       +-- Increased throughput
       |
       v
CPU + Memory + Capacity
       |
       v
Is the system stable?
13 / CONCLUSION
Conclusion
AP distribution in an Aruba Controller Cluster should not be evaluated by AP count alone.
A healthy analysis considers:
AP Count
+ Client Count
+ Throughput
+ CPU
+ Memory
+ Cluster Health
+ Failover Capacity
The true resilience of a cluster becomes visible when one controller is unavailable.
A good design therefore aims not only to share the load, but also to preserve enough capacity to continue service after the loss of a node.
Was this article useful?
Leave a quick signal. Feedback is used to improve existing guides and decide what deserves deeper coverage.